
Tools
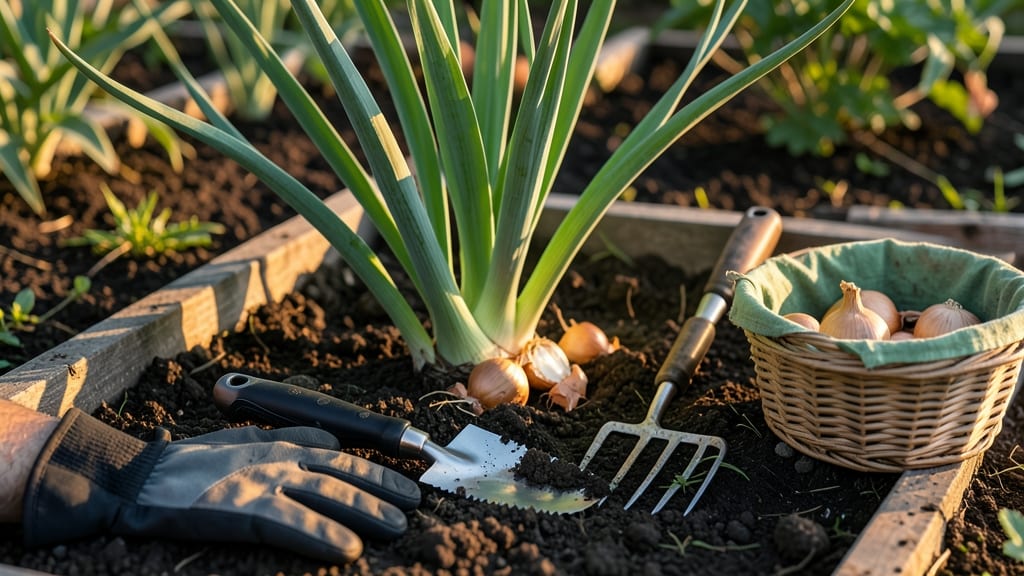
Pull onions from your garden when the tops yellow and fall over, signaling the bulbs are fully matured and ready for harvest.
If you've ever dug up onions only to find they're still small or tough, you know timing is everything. The difference between a perfect harvest and a wasted crop often comes down to watching for these simple visual cues.
Most gardeners in Zone 6a can expect to pull onions between June and July, but the exact moment depends on your plants. Look for dry soil, firm bulbs, and tops that have started to yellow—these are your green lights.
In this guide, I’ll walk you through the three key signs your onions are ready, how to harvest them without damaging future growth, and even storage tips to keep them fresh for months.
3 Clear signs your onions are ready for harvest
Harvesting onions at the right time ensures maximum flavor and storage life. Unlike many vegetables, onions don’t ripen after picking, so timing is everything. If you pull them too early, you’ll get small, pungent bulbs.
Too late, and they’ll split or spoil. The key is watching for these three clear visual cues that signal peak harvest readiness.
First, pay attention to the top leaves. Healthy green foliage means your onions still need time. But when those tops start turning straw-colored and flopping over, that’s your first sign.
This yellowing happens as the plant redirects energy from leaves to bulb development. Don’t wait too long—once leaves are completely brown and crispy, your window closes.
Next, examine the bulb size and firmness. Gently squeeze the soil-covered portion—it should feel firm but not rock-hard. If it’s still soft or loose, keep monitoring. The ideal bulb should be about 2-3 inches in diameter, with skin that resists gentle pressure.
This indicates the bulb has matured enough for storage but hasn’t started deteriorating.
The third clue is the neck shrinkage. The stem connecting the bulb to the leaves will begin to tighten and dry out. This natural process signals the plant is shutting down growth.
If you see this, act quickly—once the neck fully dries, the bulb may start splitting or losing moisture.
-
1. Yellowing & Falling Leaves
Top leaves turn straw-colored and flop over as energy shifts to bulb development. -
2. Firm Bulbs (2-3" Diameter)
Gently squeeze—bulbs should feel solid but not hard, with papery skin. -
3. Shrinking Neck
The stem between bulb and leaves dries and tightens—act fast before it fully collapses.
Green onions (scallions) follow a different rule—they’re best harvested when leaves reach 6-8 inches tall. Simply snip the outer leaves, leaving the base intact. This lets them regrow for multiple cuts.
But for storage onions, timing is critical. If you miss the window, bulbs may rot in the ground or lose flavor.
Weather plays a role too. Avoid harvesting after heavy rain, as wet soil makes bulbs prone to disease. Instead, wait for dry, warm days (70°F+). This helps the outer skin dry faster, protecting against spoilage. Once pulled, let onions cure in the sun for 1-2 hours before storing.
One common mistake is waiting until leaves are completely brown and crispy. By then, the bulb may already be overripe. Aim to harvest when 50-70% of leaves have yellowed.
This balance ensures bulbs are mature but still fresh. For long-term storage, choose firm, dry-skinned onions—these keep best in a cool, dark place.
Remember, storage onions (like Yellow Granex or Sweet Spanish) need more time than quick-pick varieties. Check variety tags for days-to-maturity guidelines, but always prioritize the visual cues over calendar dates. Your onions will thank you with sweeter flavor and longer shelf life.
If you’re unsure, dig up one bulb to check. Cut it open—if the layers are thick and dry, it’s ready. If they’re still moist or thin, wait a few days.
This quick test saves time and prevents wasted effort. Now grab your gardening gloves and start checking those onion beds!
How to harvest onions without damaging future growth
Pulling onions at the right time ensures flavorful bulbs while keeping your garden healthy. If you harvest too early, you’ll get small, pungent onions. Too late, and they’ll split or rot in storage. The key is timing and technique—both matter just as much as when you pull them.
Green onions and storage onions have slightly different harvest cues. For green onions, you can snip leaves as needed, but for storage onions, you’ll want to pull the whole bulb when it’s fully mature.
The method for removing them from the soil also varies—let’s break it down step by step to avoid damaging future growth.
- Step 1: Wait for the right signals Harvest storage onions when 50-60% of tops turn yellow-brown and flop over. For green onions, snip leaves when they reach 6-8 inches tall.
- Step 2: Choose a dry day Pull onions on a sunny, dry day to let the soil dry out slightly. Wet soil makes bulbs harder to remove and can cause rot.
- Step 3: Loosen the soil gently Use a garden fork to lift soil around the bulb without piercing it. This prevents damage to neighboring plants and roots.
- Step 4: Grasp the base and lift Hold the green tops and gently pull upward. If resistance occurs, wiggle slightly—never force it, or you’ll risk breaking bulbs.
- Step 5: Cure the onions Lay harvested onions in a shady, dry spot for 1-2 weeks to toughen skins. This improves storage life and prevents spoilage.
After harvesting, leave 1-2 inches of stems attached to storage onions. This helps them dry properly and reduces disease risk. For green onions, simply trim the roots and store them in water or the fridge.
If you’re harvesting late-season onions, you can leave some in the ground for green onions or dig up bulbs before the first frost. Just be sure to cure them indoors afterward to prevent freezing damage.
Preserving garden health is easy—remove all onion debris after harvest to reduce pests and diseases. Add a light compost layer to replenish nutrients for future plantings.