
Watering
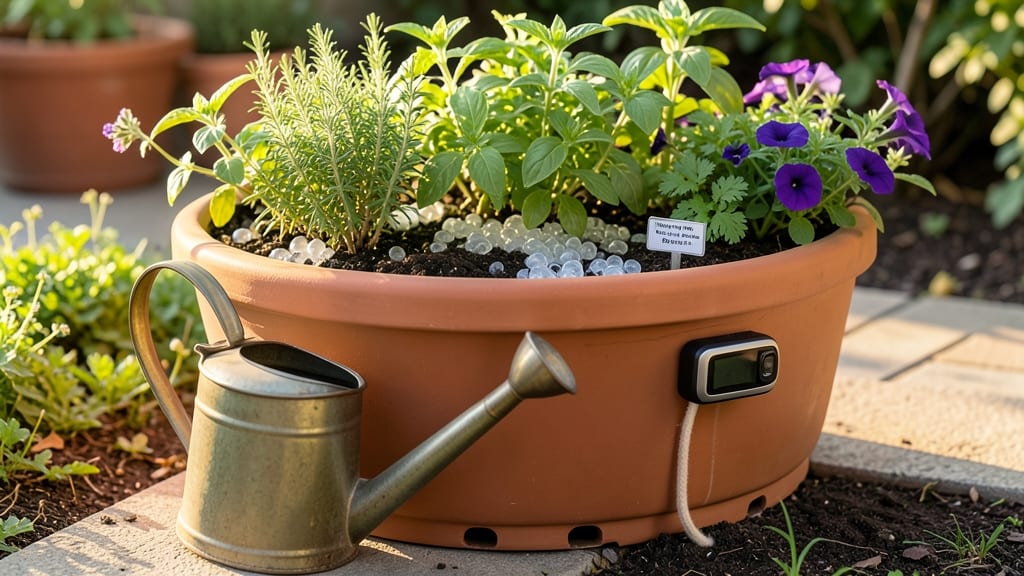
Watering your garden while away for a week—or even longer—can feel like a guessing game, but the right system turns it into a set-and-forget solution.
Picture this: you return to a thriving garden, not a sad, wilted mess. The key isn’t luck—it’s smart hydration strategies that match your plants’ needs and your schedule. Whether you’re off for a weekend or a month, there’s a method that works for you.
From drip irrigation to DIY wicking pots, I’ll break down the most reliable ways to keep your 🌱 General Garden Plants happy without babying them. No green thumbs required—just a little prep and the right tools.
By the end, you’ll know exactly how to water your garden while away, so you can relax knowing your plants are in good hands—even when you’re not.
Best self-watering systems for vacation-proof gardens
When you're planning a trip or just need to step away from your garden for a few days, self-watering systems become your best friend. These systems range from drip irrigation to smart devices, each offering unique benefits for different plant types and garden sizes.
The key is choosing a system that matches your budget, setup skills, and the water needs of your plants—whether they're drought-tolerant succulents or thirsty tomatoes.
For short trips (1-3 days), even a simple watering globe or bottle system can work, but for extended vacations (1-4 weeks), you’ll need something more robust.
Below, I’ve compared the top self-watering solutions based on cost, ease of setup, plant compatibility, and how long they can keep your garden hydrated without your help.
System
Best For
Duration
Cost
Setup Difficulty
Plant Compatibility
Drip Irrigation
Large gardens, veggies, flowers
1-4 weeks
$$ (Mid-range)
Moderate
All plants (adjust flow)
Wicking Beds
Herbs, leafy greens, containers
2-3 weeks
$ (Low)
Easy
Moisture-loving plants
Smart Watering Devices
Small gardens, tech-savvy gardeners
1-2 weeks
$$$ (High)
Very Easy
Most plants (sensor-based)
DIY Watering Globes
Small pots, herbs, succulents
3-7 days
$ (Very Low)
Very Easy
Low-water plants
Olla Pots
Mediterranean plants, drought-tolerant
2-3 weeks
$ (Low)
Easy
Succulents, herbs, rosemary
Let’s dive into each system to help you decide which one fits your garden’s needs and your lifestyle. Drip irrigation is my top recommendation for most gardeners because it’s versatile, customizable, and can handle large areas without overwatering.
It uses a slow, steady release of water directly to the roots, which is perfect for vegetables, flowers, and shrubs that need consistent moisture.
If you’re working with containers or small gardens, wicking beds or DIY watering globes are game-changers. Wicking beds use a reservoir system where water is drawn up through a wick, keeping soil evenly moist for up to 3 weeks.
Meanwhile, watering globes are ultra-low-cost and ideal for herbs or small pots, though they’re best for short trips (3-7 days). For tech enthusiasts, smart watering devices like Blossom or Rachio can monitor soil moisture and adjust watering automatically, though they come with a higher price tag.
Olla pots are another fantastic low-tech solution inspired by traditional Mediterranean gardening. These unglazed clay pots are buried in the soil, filled with water, and release moisture gradually through their porous walls. They’re perfect for drought-tolerant plants like rosemary, lavender, or thyme and can last 2-3 weeks without refilling. Plus, they’re reusable and eco-friendly—just refill them before your next trip.
When choosing a system, consider your plant types. Succulents and cacti need minimal water, so a DIY globe or olla pot works best. For leafy greens or herbs, wicking beds or drip irrigation ensure they stay consistently hydrated.
If you’re growing tomatoes or peppers, drip irrigation is ideal because it delivers water directly to the roots, reducing the risk of foliar diseases like blight.
Don’t forget to mulch your garden before you leave—2-3 inches of organic mulch (like straw or wood chips) helps retain moisture and regulate soil temperature. Pair mulching with your chosen self-watering system, and you’ll give your plants the best chance of survival while you’re away.
For example, if you’re using drip irrigation, apply mulch after setting up the system to lock in moisture and prevent evaporation.
One common mistake I see is **
Step-by-step guide to setting up a DIY self-watering system
Creating a DIY self-watering system is one of the most cost-effective ways to keep your garden hydrated while you're away. With just a few household items, you can build a system that delivers consistent moisture to your plants for up to 2 weeks without electricity.
This method is perfect for container gardens, raised beds, or in-ground plantings—no matter your space!
The key to success lies in capillary action (wicking) or gravity-fed reservoirs. For this guide, we’ll focus on a wick-based system using terracotta pots, which is simple, affordable, and works wonders for herbs, succulents, and small vegetables.
If you’re working with larger plants, we’ll also cover a reservoir method using repurposed containers like plastic bins or buckets.
Before you begin, gather these essential materials:
- Terracotta pots (or any unglazed clay pots)
- Cotton rope or jute twine (for wicks)
- Large plastic container (e.g., a 5-gallon bucket or storage tote)
- Drill or scissors (to create holes)
- Pebbles or gravel (for drainage layer)
- Your existing pots and plants
How to Build Your DIY Self-Watering System
- 1 Drill holes in the bottom of your terracotta pots (if they don’t already have drainage). This allows water to flow from the reservoir to the wicks.
- 2 Cut wicks to size—each should be 2-3 inches longer than the depth of your pot. Soak them in water for 10 minutes to help them draw moisture more efficiently.
- 3 Fill your reservoir (plastic container) with water, leaving 1-2 inches of space at the top. Add a layer of pebbles to prevent clogging and keep wicks clean.
- 4 Place pots inside the reservoir, ensuring the wicks hang freely into the water. If using multiple pots, space them evenly to avoid overcrowding.
- 5 Transplant your plants into the terracotta pots, ensuring the wick touches the soil. This creates a direct connection for water uptake. Fill gaps with moist potting mix.
- 6 Test the system by adding water to the reservoir. Observe the wicks for 10 minutes—you should see moisture travel up to the soil. Adjust wick length if needed.
- 7 Place in shade (if possible) to minimize evaporation. For outdoor setups, position the reservoir in a shaded spot or under a drip irrigation shade cloth to prolong water retention.
For larger plants or heavier water needs, swap the terracotta pots for plastic nursery pots and use a larger reservoir (like a 10-gallon tote). Line the bottom with landscape fabric to prevent soil from clogging the wicks. This setup can last up to 3 weeks in cooler climates, making it ideal for tomatoes, peppers, or herbs like basil and cilantro.
Pro tip: Mulch the soil with straw or wood chips to lock in moisture and reduce evaporation. Avoid synthetic mulches, as they can suffocate plant roots. If you’re away for longer than 2 weeks, consider adding a second reservoir or a solar-powered drip system for extra insurance.
With this low-cost, no-electricity system, your garden will stay hydrated while you’re away—no wilting, no stress, just thriving plants waiting for your return! 🌱