
Fertilization
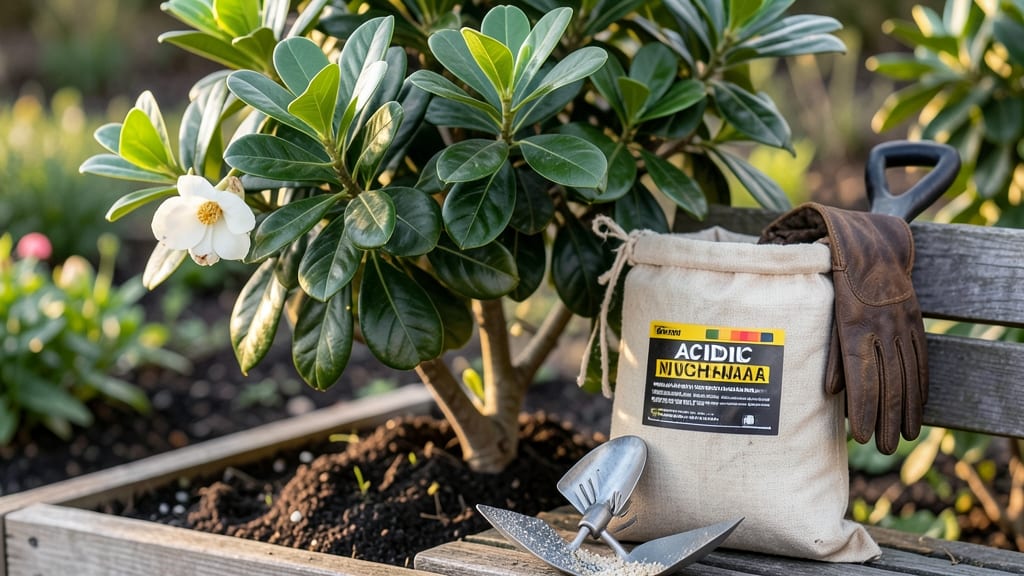
Using an acidic nitrogen fertilizer for gardenias is the fastest way to stop yellow leaves and bring back those fragrant 🌸 blooms.
Your gardenias are sending an SOS with yellow leaves—but the wrong fertilizer could make things worse. Acid-loving gardenias need the right acidic nitrogen boost to thrive, and choosing (or making) the wrong one can turn your prized shrubs into a sad, leggy mess.
Most gardeners grab the first nitrogen fertilizer they see, only to watch their gardenias struggle more. The key? A low-pH formula that delivers nitrogen without raising soil alkalinity—something standard all-purpose fertilizers simply can’t do.
In this guide, I’ll walk you through the best acidic nitrogen options (from store-bought to DIY), exactly how to apply them for fast results, and when to stop feeding before you overdo it.
Best acidic nitrogen fertilizers for gardenias to stop yellow leaves
Yellowing gardenia leaves usually mean one thing: your plant is starving for acidic nitrogen. Gardenias thrive in pH 5.0-6.5 soil, but even with the right acidity, they need the correct nitrogen form—ammoniacal (slow-release) or nitrate (fast-acting)—to restore vibrant green foliage.
The wrong choice can worsen yellowing or burn roots, so let’s break down the best options to revive your shrubs without guesswork.
Not all nitrogen sources work equally. Ammoniacal nitrogen (like urea or fish emulsion) releases slowly, while nitrate nitrogen (like potassium nitrate) acts fast but can leach away. Gardenias prefer a balanced approach: start with slow-release nitrogen in spring, then switch to a mild nitrate boost during flowering.
Pair this with organic matter like peat moss or pine needles to maintain soil acidity long-term.
Here’s the critical comparison: commercial fertilizers (like iron sulfate or cottonseed meal) deliver precise nutrition, while DIY options (like coffee grounds or banana peels) add acidity but require careful dosing.
The table below shows how each option affects leaf color, root health, and bloom production, so you can pick the perfect match for your gardenia’s needs.
If your gardenias show yellowing between veins, they’re likely deficient in iron or manganese, which thrive in acidic soil. Iron sulfate or chelated iron are your best bets here—apply them in early spring when roots are active.
For overall yellowing (not just veins), the issue is nitrogen deficiency, and fish emulsion or cottonseed meal will deliver the quickest results.
DIY options like coffee grounds or pine needles are great for maintaining acidity but won’t replace nitrogen. Mix them with a nitrogen-rich amendment, like banana peels (for potassium + nitrogen) or manure tea, to avoid stunting growth.
Pro tip: Test your soil’s pH before applying any fertilizer—if it’s already below 5.0, skip the sulfur and focus on nitrogen first.
For container gardenias, dilute fish emulsion (1 tbsp/gallon) and apply every 4-6 weeks during growing season. In-ground plants benefit from a spring top-dressing of cottonseed meal (1 lb per 10 sq ft) followed by a summer foliar spray of iron sulfate to prevent yellowing.
Always water deeply after fertilizing to prevent
How to apply acidic nitrogen fertilizer correctly for fast results
Gardenias thrive when their soil pH stays between 5.0 and 6.5, but yellow leaves often signal a need for acidic nitrogen fertilizer. Too much alkaline soil locks out nutrients, while the wrong fertilizer can burn roots or disrupt blooming.
The key is timing, dosage, and soil prep to give your gardenias the fast nitrogen boost they crave without stress.
Start by testing your soil pH—gardenias hate alkaline conditions. If your soil reads above 6.5, mix in elemental sulfur (1 pound per 100 sq ft) 2-3 months before fertilizing to lower pH. For containers, use acid-loving plant mix with peat moss or pine bark.
Once your soil is properly acidic, you’re ready to apply nitrogen safely.
-
Step 1: Choose the Right Fertilizer
Opt for acidic nitrogen sources like cottonseed meal (10-6-0), blood meal (12-0-0), or fish emulsion (5-1-1). Avoid synthetic fertilizers unless labeled for acid-loving plants—they can raise soil pH over time.
-
Step 2: Apply in Early Spring
Fertilize 4-6 weeks after last frost (March-April in Zones 8-11) when new growth begins. Split the dose into two applications: half in spring, half in early summer. Never fertilize in fall or winter—it encourages tender growth that won’t survive cold snaps.
-
Step 3: Use the Right Dosage
For established gardenias, use 1 tablespoon per plant in spring and 2 tablespoons in summer. For containers, reduce to ½ teaspoon per gallon of soil. Water thoroughly before and after applying fertilizer to prevent root burn.
-
Step 4: Water Deeply After Application
Give your gardenias 1-2 gallons of water per plant to help nitrogen penetrate the root zone. Avoid overhead watering for 24 hours to prevent fertilizer from washing off leaves or attracting pests.
-
Step 5: Monitor for Over-Fertilization
Watch for brown leaf tips, leaf drop, or stunted growth—signs of too much nitrogen. If you see these, flush the soil with water for 10 minutes to leach excess salts. Reduce future doses by half until new growth stabilizes.
For container gardenias, mix fertilizer into the top 2 inches of soil instead of top-dressing. This ensures roots absorb nitrogen evenly without runoff.
If your gardenias still show yellow leaves after fertilizing, test for iron or magnesium deficiency—common in acidic soils—and supplement with chelated iron or Epsom salt (1 tablespoon per gallon of water).
Remember, gardenias reward patience. Slow, steady feeding produces healthier blooms than quick fixes. Stick to this schedule, and you’ll see glossy green leaves and fragrant flowers within 4-6 weeks. Happy gardening! 🌸