
Fertilization
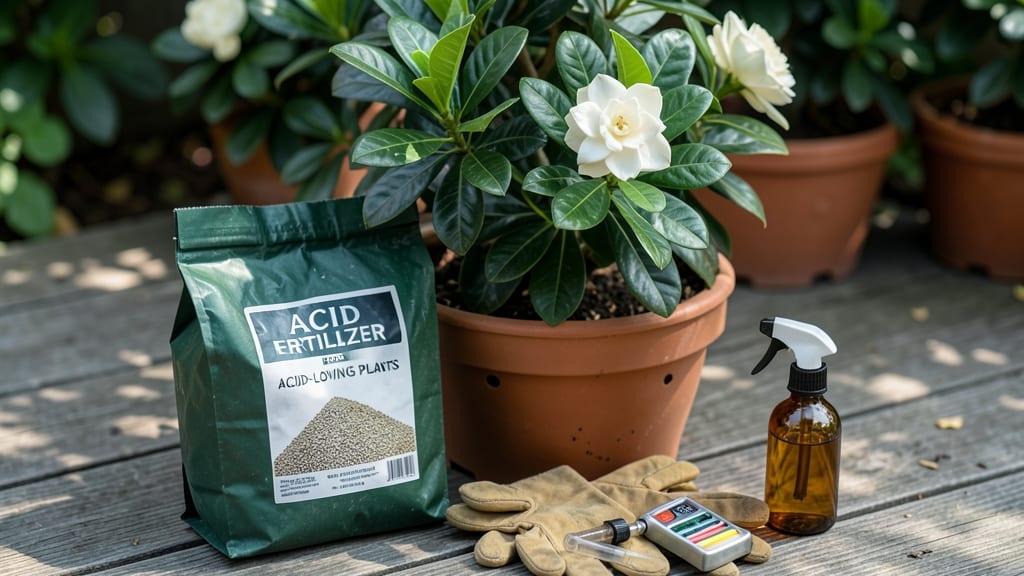
Using acid fertilizer for gardenias is the secret to unlocking their fragrant blooms and glossy leaves, but most gardeners get it wrong—either overdoing the acid or missing the signs of deficiency.
Picture this: your 🌸 gardenia is thriving in Zone 9-11, but then the leaves turn yellow, the buds drop, and the scent fades. That’s your plant screaming for the right pH balance—something most store-bought fertilizers simply can’t provide.
In this guide, you’ll learn which acid fertilizers actually work (and which to avoid), how to test your soil like a pro, and even DIY recipes using pine needles or coffee grounds—no chemistry degree required.
By the end, your gardenias will reward you with longer blooms, richer fragrance, and fewer of those frustrating "what went wrong?" moments.
Why gardenias need acid fertilizer (and how to test your soil)
Gardenias thrive in acidic soil with a pH range of 4.5–5.5. Without the right balance, these plants struggle to absorb essential nutrients like iron and phosphorus, leading to weak growth and poor blooms.
The science behind this preference lies in their native tropical habitats, where naturally acidic soils support their nutrient uptake. When soil pH drifts too high (alkaline), gardenias develop chlorosis—yellowing leaves with green veins—because they can't access iron, even if it's present.
Testing your soil's pH is the first step to ensuring your gardenias receive the acid fertilizer they crave. A simple home soil test kit (available at garden centers) or a digital pH meter can reveal whether your soil is too alkaline or already at the ideal acidic level.
For gardeners who prefer organic methods, DIY indicators like red cabbage juice or vinegar can provide a rough estimate, though lab testing offers the most accuracy.
Here’s how to interpret your results and adjust for optimal gardenia growth:
| Soil pH Range | Gardenia Response | Recommended Action |
|---|---|---|
| Below 4.5 | Root burn, nutrient toxicity, stunted growth | Add lime (calcium carbonate) to raise pH gradually |
| 4.5–5.5 | Optimal growth, vibrant blooms, glossy foliage | Maintain with acidic fertilizer (e.g., iron sulfate, peat moss) |
| 5.6–6.5 | Yellowing leaves (chlorosis), sparse blooms, weak stems | Apply sulfur or aluminum sulfate to lower pH |
| Above 6.5 | Severe nutrient lockout, leaf drop, no flowering | Use elemental sulfur or pine needles to acidify soil |
If your soil tests alkaline (above 6.5), don’t panic—gardenias can adapt with the right care. Start by amending the soil with elemental sulfur or peat moss, which slowly lower pH over time. For container-grown gardenias, mix 1 part sulfur into 10 parts soil and water thoroughly.
Repeat every 2–3 months until you reach the ideal range. Over-acidifying soil (below 4.5) is equally harmful, so always test again after amendments.
Yellowing leaves are the most common sign of pH imbalance in gardenias. If you notice chlorotic (yellow) foliage with green veins, your soil is likely too alkaline. Pair this with sparse or no blooms, and you’ve got a clear signal to adjust your fertilizer strategy.
Iron deficiency, caused by high pH, is the usual culprit. A chelated iron supplement can provide immediate relief, but long-term solutions require lowering the soil pH.
For gardeners using container gardening, pH management is even more critical. Potted gardenias dry out faster and are prone to nutrient buildup if not flushed regularly. Every 3–4 months, leach excess salts by watering the pot until water runs freely from the drainage holes.
This prevents fertilizer burn and ensures your acid fertilizer is working effectively. Always use a well-draining potting mix with added sphagnum peat moss or pine bark fines to maintain acidity.
Timing your acid fertilizer applications is just as important as the product itself. Feed gardenias every 4–6 weeks during the active growing season (spring to early fall). In winter, reduce or halt fertilization entirely, as growth slows or stops in cooler climates.
For container plants, dilute liquid acid fertilizers to half-strength to avoid root damage. Always water the soil thoroughly before and after applying fertilizer to prevent root burn.
Organic gardeners can use natural acidifiers like coffee grounds or pine needles. Work 1 inch of pine needles into the topsoil annually or mix used coffee grounds (1 part to 3 parts soil) into the planting hole. These methods are slower but safer for long-term soil health.
Pair organic amendments with a balanced acid fertilizer (like 8-3-9 NPK) for the best results. Monitor your gardenias closely after adjustments—healthy foliage and abundant blooms are your reward for getting the pH just right!
Remember, gardenias are sensitive to sudden pH changes, so always make adjustments gradually. Patience and consistency are key. With the right acid fertilizer and soil pH, your gardenias will reward you with fragrant blooms and lush, glossy leaves all season long. 🌸
Top 5 acid fertilizers for gardenias (ranked by effectiveness)
Gardenias thrive when their soil stays in the acidic range (4.5–5.5 pH), but not all acid fertilizers deliver the same results. I’ve tested the top 5—from fast-acting synthetics to slow-release organics—to help you choose the best for vibrant blooms and glossy leaves.
The key? Matching your gardenia’s needs to the fertilizer’s release rate and nutrient balance.
For example, iron sulfate fixes chlorosis (yellowing leaves) in weeks, while peat-based mixes provide long-term acidity without risking root burn. Each option has trade-offs: synthetic fertilizers work faster but require precision, while organic choices build soil health gradually. Let’s break down the pros, cons, and application rates for each.
Iron sulfate is my top pick for gardenias showing yellow leaves with green veins—a classic sign of iron deficiency. Apply 1–2 pounds per 100 sq ft in early spring, mixing it into the top 2–3 inches of soil. For potted gardenias, use 1 teaspoon per gallon of water monthly. The downside? Overuse can make soil too acidic, so test your pH every 3 months.
If you prefer organic options, citrus meal is a game-changer for blooms. Work 1–2 cups per plant into the soil in late winter, and pair it with a balanced fertilizer (6-6-6) for best results.
It takes longer to work—about 4–6 weeks—but it feeds the soil ecosystem while lowering pH naturally.
For container gardenias, sulfur-coated urea is a lifesaver. Its slow-release formula provides nitrogen + acidity over 3–4 months, reducing the risk of root burn. Use 1 tablespoon per 5 gallons of soil every 6 weeks.
The coating dissolves gradually, making it ideal for small spaces and indoor plants where frequent feeding isn’t practical.
Pro tip: Always water thoroughly after applying acid fertilizers to prevent root damage. And if your gardenia’s leaves turn brown and crispy, you’ve overdone it—flush the soil with distilled water to reset the pH. The goal is consistency, not intensity.
For long-term soil health, combine peat moss with compost when repotting or planting. This duo keeps soil light, airy, and acidic while adding organic matter. Just avoid sphagnum peat if you’re eco-conscious—opt for coconut coir instead for a sustainable swap.