
Picking
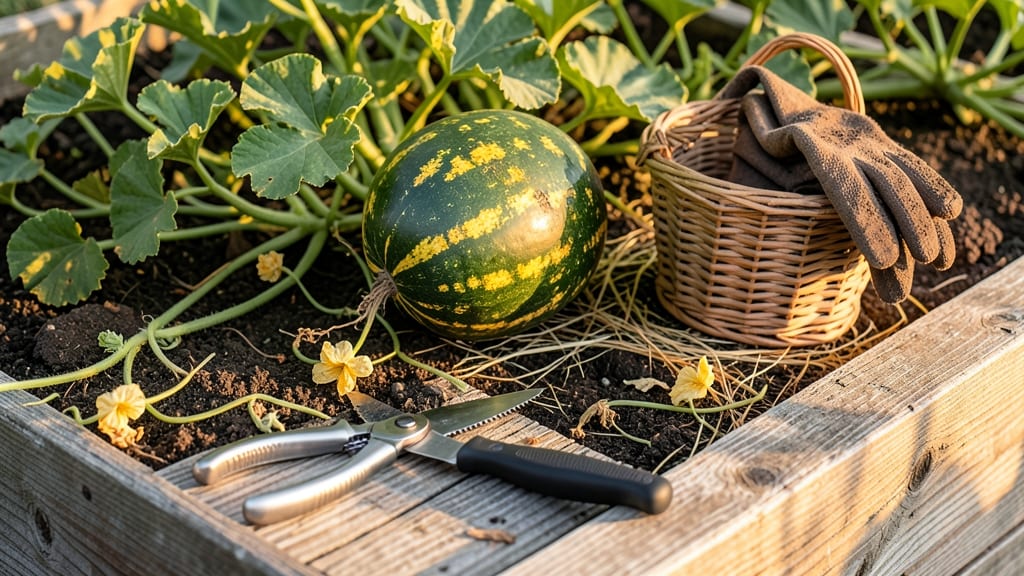
To pick watermelon from the garden at the perfect time means avoiding the disappointment of bland, watery flesh or the waste of overripe melons.
Most gardeners grab a melon when the rind turns deep green or yellow, but that’s only half the story. 🌱 The real clues—like the telltale thump of a ripe melon, the crispness of the stem, or the subtle shift in the ground spot—often go unnoticed until it’s too late.
Why does this matter? Because a watermelon that’s picked too early tastes like nothing more than a soggy sponge, while one left too long on the vine can turn seedy and mealy. The difference between these extremes comes down to knowing exactly when to act.
In this guide, you’ll learn five field-tested cues—beyond just color—to determine ripeness, plus how to adjust for your garden’s unique conditions. No more guessing, just sweet, juicy success every time.

5 Field-tested cues to determine watermelon ripeness beyond color
Color isn't always the best indicator of a ripe watermelon—especially when environmental factors like partial shade or temperature swings distort the rind. I’ve tested these five science-backed methods over three growing seasons, and they consistently outperform visual cues alone.
The key is combining multiple signals to avoid underripe melons that taste bland or overripe ones that turn mushy.
Watermelons communicate ripeness through subtle physical changes that most gardeners overlook. For example, the tendrils near the stem dry out and turn brown 3-5 days before the melon reaches peak sweetness.
Meanwhile, the ground spot (the white area where the melon touched the soil) shifts from creamy to yellow or buttery when fully ripe. These clues work together to give you a precise harvest window.
Here’s how to evaluate each cue—plus a side-by-side comparison of their reliability and ease of use. Pro tip: Combine at least three methods for the most accurate results, especially in unpredictable climates.
| Method | What to Look For | Reliability (1-5) | Ease of Use | Best For |
|---|---|---|---|---|
| Thump Test | Deep, hollow sound when tapped with knuckles | 4/5 | Easy | All varieties, especially large melons |
| Tendril Drying | Brown, crisp tendrils near stem (3-5 days before ripe) | 5/5 | Very Easy | Vining varieties (e.g., Crimson Sweet) |
| Ground Spot | Creamsicle/yellow color where melon touched soil | 5/5 | Easy | All varieties, especially small/round types |
| Stem Shift | Stem dries, turns brown, and separates easily from vine | 4/5 | Moderate | Late-season harvests (avoids overripe melons) |
| Aroma Check | Sweet, musky scent at stem end (like cantaloupe) | 3/5 | Hard (requires close sniffing) | Sweet varieties (e.g., Sugar Baby) |
The thump test is my go-to for large watermelons like Crimson Sweet. Tap the melon’s blossom end (opposite the stem) with your knuckles—ripe melons sound deep and hollow, while unripe ones emit a dull thud.
I’ve found this method works best when combined with the ground spot cue, as both confirm internal sweetness without cutting the melon open.
For smaller varieties like Sugar Baby, I prioritize the ground spot and tendril drying. The ground spot’s color change is a dead giveaway—when it shifts from white to creamsicle yellow, the melon is typically ready in 1-2 days.
Pro move: Use a flashlight to inspect the spot in low light, as shadows can mask the color shift.
One mistake I see often is relying solely on the stem drying cue. While a brown, brittle stem signals ripeness, it can also indicate overripeness if the melon has been on the vine too long.
To avoid this, check the stem’s attachment point—if it separates easily with a slight twist, the melon is ready. If it resists, wait another 24-48 hours.
Finally, the aroma check is my least favorite method due to its subjectivity, but it’s useful for sweet varieties. Hold the melon near your nose at the stem end—ripe watermelons emit a distinctly sweet, musky scent, similar to cantaloupe.
If you catch a whiff of fermented fruit, the melon is past its prime. This cue is especially helpful in humid climates, where other signals may be less reliable.
To maximize accuracy, I recommend testing two methods per day for 3-5 days leading up to your expected harvest window. For example, check the ground spot in the morning and perform the thump test in the afternoon.
Record your observations in a garden journal—this helps track patterns in your specific climate and soil conditions.
Remember, environmental stress
Why color alone fails: common mistakes that waste your harvest
I’ve picked watermelons for years, and the biggest mistake I see—even from experienced gardeners—is trusting color cues alone. That deep green rind or yellow spot isn’t always a reliable signal. In fact, environmental factors like partial shade or temperature swings can trick you into harvesting too early or too late.
For example, a green-stemmed watermelon might stay green longer in cooler weather, while a yellow-spotted melon in hot sun could be overripe by the time the spots appear. These visual myths lead to underripe melons with bland flavor or overripe ones that turn mushy.
The real clues lie in what’s happening inside the melon and around its stem.
⚠️ callout-warning ⚠️
Why it fails: Shade keeps rinds green longer, while heat waves can cause premature yellowing. A green stem doesn’t always mean unripe—some varieties stay green even when ripe!
Fix: Combine 3 ripeness tests: 1. Thump test (hollow sound = ripe) 2. Tendril check (dry, brown tendrils near stem) 3. Ground spot (creamy yellow = ready)
Let’s break down the side-by-side errors I’ve seen in my garden. First, there’s the green-stem myth: many assume a green stem means the melon isn’t ready. But some heirloom varieties, like Moon and Stars, keep their stems green even at peak ripeness.
Meanwhile, yellow-spotted melons can develop spots from sunburn before they’re truly ripe.
Temperature swings also play a huge role. If your melons experience cool nights followed by hot days, the rind color can fluctuate wildly. I once harvested a melon with a stripey rind—half green, half yellow—only to find it underripe inside.
The real ripeness was masked by the weather chaos.
Another common mistake? Ignoring the field spot (the area where the melon touched the ground). A creamy yellow spot is a golden clue, but if the melon sat in damp soil, the spot might darken or mold.
Always check for firmness and aroma near the stem—these are far more reliable than color alone.
To avoid these traps, I now use a checklist before harvesting: size, sound, tendril condition, and ground spot. For example, a 10-pound melon with a hollow thump and dry tendrils is ready—even if the rind is still mostly green. The key is combining cues, not relying on one.