
Picking
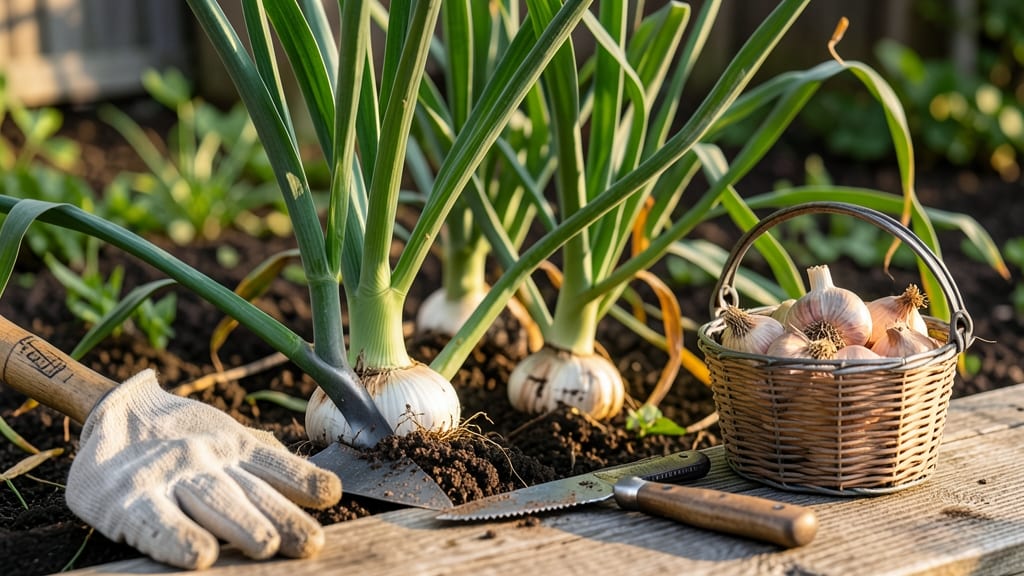
Picking garlic from your garden at the right time ensures bulbs that are plump, flavorful, and perfect for curing 🧄 — and missing that window can ruin months of hard work.
You’ve nurtured your garlic through frost and heat, but the most critical moment arrives when the lower leaves start turning brown. That’s your cue to act, but timing is everything: harvest too early, and the bulbs won’t store well; wait too long, and they’ll split or rot in the soil.
In this guide, I’ll walk you through the exact leaf-dying stages to watch for, how climate affects your harvest window, and the simple steps to cure garlic for long-term storage.
Whether you’re growing hardneck or softneck varieties, these tricks will help you avoid common mistakes and enjoy garlic at its best all year.
Ready to turn your garden’s harvest into a pantry staple? Let’s dive into the signs, tools, and timing that make all the difference.

How to identify the perfect time to harvest garlic based on leaf signs
Garlic doesn’t come with a neon sign announcing harvest time, but your plants will whisper clues through their leaf color and bulb development. Ignoring these signals can lead to shriveled bulbs or poor storage life, so learning to read your garlic’s language is essential.
The key lies in understanding how much of those lower leaves have turned brown—this tells you whether your bulbs are ready or still maturing.
In cooler climates like USDA Zones 3-6, garlic typically matures between mid-July and August, while warmer regions may see harvests as early as late June. The difference in timing comes down to temperature: cooler weather slows growth, while heat speeds up bulb development.
Paying attention to your local frost dates also helps—you’ll want to harvest before the first frost, which can damage bulbs.
Here’s the golden rule: Harvest when 50-60% of the lower leaves have turned brown but before the upper leaves start dying back. This stage ensures bulbs are fully developed yet still firm. Waiting too long risks over-mature bulbs that split open or develop mold during storage.
- 🌱 20-30% brown leaves: Bulbs are still growing—wait 2-3 weeks.
- 🌿 50-60% brown leaves: PERFECT HARVEST TIME for firm, flavorful bulbs.
- 🟤 70-80% brown leaves: Bulbs may be over-mature; harvest soon to avoid splitting.
- ❄️ Frost before harvest: Dig up bulbs immediately to prevent frost damage.
💡 Pro Tip: Squeeze a bulb gently—if it feels firm and papery, it’s ready. If it’s soft, wait another week.
Regional climates play a huge role in timing. In cool, northern climates, garlic often matures later due to slower growth, while warm, southern regions may see earlier harvests.
For example, in Zone 7, you might harvest in late June, whereas in Zone 4, August is more common. Always adjust for your last frost date—garlic bulbs can tolerate light frosts but won’t store well if harvested too late.
Don’t rely solely on leaf color, though. Dig up a test bulb when you see 50% browning to check its size. A mature bulb should be 2-3 inches wide with well-defined cloves wrapped in papery skins.
If the bulb feels soft or the cloves aren’t formed, give it another week or two. This hands-on check prevents guesswork and ensures you’re harvesting at peak quality.
Overlooking the 80% brown leaf stage is a common mistake. At this point, bulbs may split open or develop neck rot, a fungal issue that ruins storage life. The upper leaves should still be green and turgid—if they’re yellowing or dying, you’ve waited too long.
Think of it like a countdown timer: the moment the lower leaves hit 60% brown, start your harvest prep.
Hardneck and softneck varieties also have slightly different timelines. Hardneck garlic, known for its floral stems, often matures 1-2 weeks earlier than softneck varieties. If you’re growing both, monitor them separately—hardnecks may signal readiness first, while softnecks might need an extra week.
This variance is why checking leaf color is more reliable than relying on a calendar.
One final trick: Observe your neighbors’ garlic patches. If nearby gardeners are harvesting, their plants are likely at a similar stage. This community-based timing can be a helpful backup when your own plants are borderline. Just remember, every garden has unique microclimates, so always verify with your own plants.
Timing your harvest correctly isn’t just about flavor—it’s about storage life. Garlic harvested at 50-60% browning will cure properly and last 6-12 months in cool, dry conditions. Bulbs harvested too early may sprout prematurely, while those harvested too late risk mold and rot.
Mastering this window turns a good harvest into a great one.
Now that you know the signs, grab your gardening gloves and get ready to dig. The difference between shriveled disappointment and plump, papery perfection often comes down to a few weeks of patience—and a sharp eye for those browning leaves. Happy harvesting! 🧄
Step-by-step guide to harvesting and curing garlic for long-term storage
Once your garlic shows those telltale brown leaves, it’s time to act fast—proper harvesting and curing can extend storage life from months to over a year. The key? Gentle handling and precise conditions to prevent mold while preserving flavor.
I’ve learned the hard way that rushing or skipping steps leads to shriveled cloves or worse, moldy batches. Let’s break this down so your harvest stays perfect.
Timing is everything: harvest when 50-60% of leaves have turned brown but before they fully dry in the ground. This usually happens in late June to early July for hardneck varieties and June to early June for softneck.
Wait too long, and bulbs split; harvest too early, and they won’t store well. The goal is to catch them at peak maturity.
🌱 Step-by-Step Harvesting & Curing Process
-
Step 1: Dig Carefully
Use a fork or spade to loosen soil around bulbs. Lift gently to avoid bruising. Shake off excess dirt—don’t wash! -
Step 2: Cure in Dry Conditions
Lay bulbs in a shady, well-ventilated area (like a garage or porch) with 60-70°F temperatures and low humidity (below 70%). Avoid direct sun. -
Step 3: Braid or Bundle
After 2-3 weeks, when stems are dry and papery, tie bulbs in small braids or hang in mesh bags to continue curing for another 2-3 weeks. -
Step 4: Store Properly
Once fully cured, store in a cool (50-60°F), dark, dry place with good airflow. Use mesh bags or wooden crates to prevent rot.
Common mistakes like washing bulbs or storing them in plastic bags can trigger mold. I once lost an entire harvest because I rushed curing—now I wait patiently for that papery skin to form.
Test a bulb by squeezing: it should feel firm, not soft. If it gives, it’s not ready.
For long-term storage, check bulbs monthly for soft spots or mold. Discard any affected bulbs immediately to prevent spreading. With the right conditions, your garlic can last until next year’s harvest. The secret? Patience and attention to detail at every step.
Don’t forget to save a few bulbs for next season! Plant the largest, healthiest ones in fall or early spring for a fresh crop. Happy harvesting—your pantry (and taste buds) will thank you!