
Picking
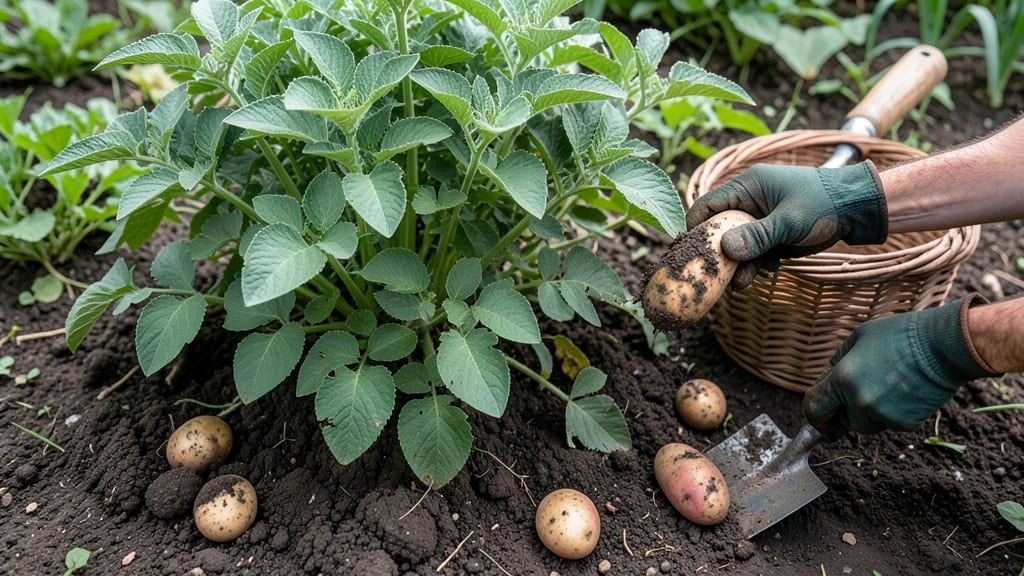
Harvesting potatoes from your garden at the right time ensures you get tender, flavorful tubers instead of tough, shriveled ones—here’s how to know when they’re perfectly ready.
Picture this: you dig up a potato that’s still green and firm, or one that’s already sprouting in the soil. That’s the difference between a perfect harvest and wasted effort.
The key is watching for those telltale signs—like when the flowers fade and the leaves start yellowing—that signal it’s time to grab your fork.
Whether you’re growing new potatoes for a quick meal or saving mature ones for storage, timing matters. Too early, and you’ll miss out on full flavor; too late, and you risk losing your crop to rot or pests.
Below, I’ll break down the exact cues to watch for, plus how climate and variety play into your harvest window.
Ready to dig in? You’ll learn how to check soil conditions, spot the ideal tuber size, and even adjust for your local frost dates—so you can pull up potatoes at their peak every time.

Signs your potatoes are ready for harvest based on growth stages
Harvesting potatoes at the right time ensures you get the best flavor and texture. For new potatoes, timing is all about size and leaf color, while mature potatoes require watching for foliage changes.
The key is understanding your potato variety—early varieties like 'Yukon Gold' mature in 70-90 days, while late varieties like 'Russet' take 100-120 days.
One of the first signs your potatoes are ready is when the flowers appear. For new potatoes, you can start harvesting 1-2 weeks after flowering when tubers are about 1-2 inches in diameter.
This is perfect for quick-cooking meals. If you wait until the foliage yellows and dies back, you’ll get fully mature potatoes with thicker skins and better storage life.
Pay close attention to the leaf color and stem condition. When the leaves turn yellow-brown and start to wither, it’s a clear signal that the tubers below have reached maturity.
This process, called senescence, happens naturally as the plant redirects energy to the tubers. For late varieties, this can take up to 3-4 weeks after flowering.
Another foolproof method is the finger test. Gently dig around the base of the plant and check the size of the tubers. If they’re golf-ball-sized (2-3 inches), they’re ready for new potatoes.
For mature potatoes, aim for baseball-sized (3-4 inches) tubers with rough, papery skin. If the skin resists when you press it, it’s a good sign of maturity.
If you’re growing early varieties, you can harvest in two batches. First, dig up a few tubers when they’re small and tender for new potatoes, then let the rest mature for a later harvest.
This works well for varieties like 'Red Pontiac' or 'Kennebec'. For late varieties, wait until the entire plant has died back—this usually happens 10-14 days after flowering.
One common mistake is harvesting too early, which results in small, underdeveloped tubers. These potatoes often have thin skins and are prone to bruising. On the flip side, harvesting too late can lead to shriveled, woody potatoes with poor flavor.
The best approach is to monitor your plants closely and adjust based on your variety’s maturity timeline.
For organic gardeners, avoid disturbing the soil too much before harvest. Excessive digging can expose tubers to light, turning them green and toxic. Instead, use a garden fork to gently loosen the soil around the base of the plant before carefully lifting the tubers.
This method also helps prevent damaging the remaining tubers if you plan to harvest in stages.
Once you’ve harvested, let the potatoes cure in the sun for a few hours to toughen their skins. Then, store them in a cool, dark place with good airflow, like a ventilated basket or paper bag.
Avoid plastic bags, as they trap moisture and encourage rot. Proper storage ensures your potatoes stay fresh for several months.
Remember, the ideal harvest window depends on your climate zone and variety. In cooler regions, potatoes may mature faster, while warmer climates can speed up the process. Always check your seed packet for days to maturity and adjust your harvest timeline accordingly.
How to harvest potatoes without damaging future crops
Harvesting potatoes at the right time ensures you get flavorful, firm tubers while protecting your plants for a successful future harvest. The key is knowing when to stop digging to avoid stressing the plant or leaving tubers in the ground too long.
I’ve learned that over-harvesting weakens the plant and reduces next year’s yield, so timing matters more than you might think!
Start by checking your potato variety—early harvesters like 'Yukon Gold' can be ready in 70-90 days, while late varieties like 'Russet' need 100-120 days.
For new potatoes, harvest when tubers are golf-ball-sized (about 2 inches), but for full-sized potatoes, wait until the foliage yellows and dies back. This balance keeps your plants healthy and your harvest abundant.
Step-by-Step Harvesting Guide
One of the biggest mistakes I’ve seen is harvesting too early for full-sized potatoes. If you dig up tubers when they’re still small and firm, they’ll taste starchy and bland. Wait until the skin is rough and papery—this means they’re fully matured and packed with flavor.
Also, avoid harvesting when the weather is hot or rainy, as this increases the risk of disease.
After harvesting, store your potatoes in a cool, dark place with good airflow. A basement or root cellar (around 40-50°F) is ideal. Avoid refrigeration—it turns starches to sugar, making potatoes sweet and mealy.
If storing long-term, check tubers monthly for rotting or sprouting and remove any affected ones immediately.
Remember, the goal isn’t just to harvest all your potatoes at once—it’s to balance yield and plant health. If you’re growing seed potatoes, leave some in the ground until the foliage is completely dead.
This ensures you’ll have healthy tubers to plant next season. With the right timing and care, you’ll enjoy a bountiful harvest year after year! 🌱