
Tools
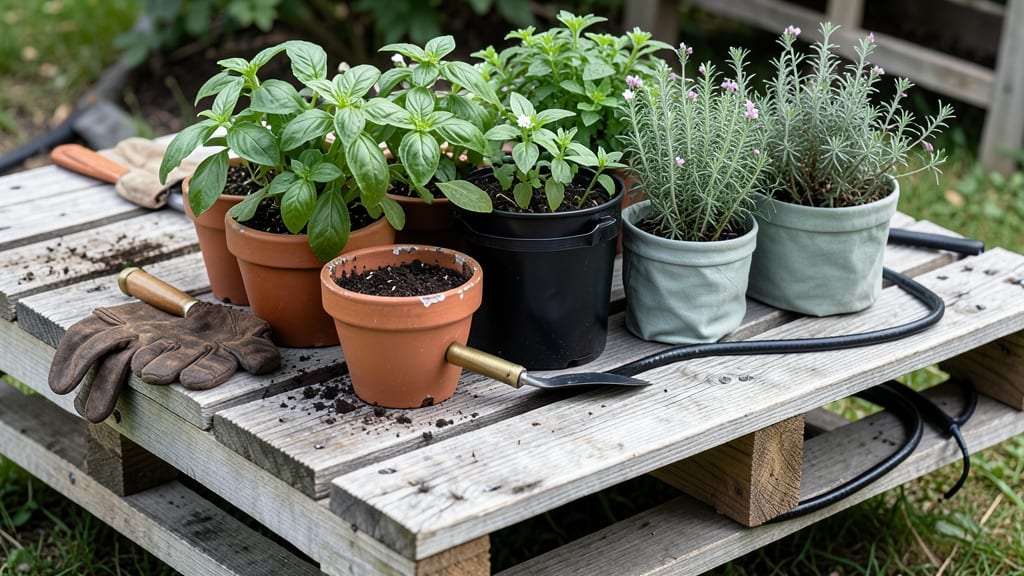
A pallet gardening table turns scrap wood into a stylish, functional planter that fits even the smallest balcony or patio—no fancy tools or deep pockets required.
Picture this: a sturdy, elevated bed where your 🌱 General Pallet Garden Plants thrive just inches off the ground, keeping roots cool and pests at bay. Whether you’re growing herbs for tacos or cherry tomatoes for salads, this project solves two problems at once—limited space and a cluttered garage.
What’s even better? You can build one in under an hour using pallets you might already have lying around. No need to buy expensive raised beds or deal with heavy soil bags. Just sand, paint, and plant—then watch your garden grow right on your porch or windowsill.
Below, I’ll walk you through the exact steps to assemble a table that’s weather-resistant, space-saving, and ready for your favorite spring crops—plus creative ways to customize it for herbs, veggies, or even flowers.
How to build a pallet gardening table in 5 simple steps
Building a pallet gardening table is my favorite way to turn discarded materials into a functional, space-saving garden. With just a few basic tools and a little elbow grease, you can create a sturdy planter that’s perfect for herbs, veggies, or flowers—even on a balcony or patio.
The best part? It’s budget-friendly and takes less than an hour to assemble. Let’s get started with the essentials first.
Before you begin, gather your supplies: a heat-treated pallet (HT stamped for safety), exterior-grade screws, sandpaper, wood sealant, and a drill. You’ll also need a paintbrush if you want to add a decorative finish. HT-rated pallets are non-toxic and safe for gardening, so always check for this stamp before repurposing.
Safety first—wear gloves and a mask if the wood has rough edges or splinters.
Now, let’s dive into the step-by-step assembly. This process is straightforward, but paying attention to details like drainage and stability will ensure your table lasts for years.
Whether you’re a beginner or a seasoned DIYer, these steps will guide you through creating a weather-resistant planter that’s ready for your favorite plants.
Step-by-Step Guide to Building Your Pallet Gardening Table
-
1Sand and Inspect the Pallet
Use 80-grit sandpaper to smooth rough edges and remove splinters. Check for nails or staples—remove any protruding hardware with pliers. This step ensures your table is safe to handle and plant-friendly. -
2Drill Drainage Holes
Use a 1-inch drill bit to create holes in the bottom of the pallet. Space them 6 inches apart to prevent waterlogging. This is critical for root health—poor drainage leads to rot and fungal issues. -
3Seal and Paint (Optional)
Apply a non-toxic wood sealant to protect against moisture and pests. For a pop of color, use exterior paint or stain. Let it dry completely—this step adds 5-10 minutes but extends your table’s lifespan. -
4Add Support Legs (Optional)
For extra stability, attach 2x4 lumber as legs using 2-inch deck screws. Space them evenly under the pallet’s corners. This elevates your table and prevents ground contact, which can cause rot over time. -
5Fill with Soil and Plant
Use a lightweight potting mix to fill the pallet, leaving 1 inch from the top for watering. Plant your herbs, veggies, or flowers, then water thoroughly. Place your table in a spot with 6+ hours of sunlight for best results.
Once your pallet gardening table is assembled, it’s time to customize it for your space. For example, I love adding a foldable design by attaching hinges to the sides, making it easy to store when not in use.
You can also stack multiple pallets vertically to maximize space for herbs or strawberries. The possibilities are endless, and the best part is that you’re upcycling materials that might otherwise end up in a landfill.
Pro tip: If you’re growing tomatoes or peppers, consider adding a trellis to the side of your table. This not only saves space but also keeps plants off the ground, reducing the risk of pests and disease.
A simple DIY trellis can be made from bamboo stakes or chicken wire—both are affordable and effective.
Remember to rotate your plants occasionally to ensure even sunlight exposure. This is especially important for leafy greens like lettuce or spinach, which can become leggy if they don’t get balanced light. A quick spin of the table every few days keeps your garden thriving and looking its best.
Your new
Best pallet gardening table designs for small spaces
Small spaces don’t mean small gardens! With a few wooden pallets, you can create a functional gardening table that maximizes vertical space and grows herbs, strawberries, or microgreens without sacrificing square footage.
The key is choosing a design that fits your space constraints, sunlight access, and plant needs. Let’s explore four creative variations—each with unique benefits for urban gardeners.
Whether you’re balancing a patio table on a balcony or stacking pallets for a multi-tiered planter, these designs adapt to your lifestyle. For example, foldable pallet tables save space when not in use, while elevated setups prevent soil-borne diseases by keeping plants off the ground.
The right choice depends on your garden goals: Are you growing fast-sprouting microgreens or low-maintenance strawberries?
Below, I’ve compared four top designs with their pros, cons, and best plant matches—so you can pick the perfect fit for your small-space garden.
Each option uses the same basic pallet structure but adapts it for different needs, from portability to sunlight optimization. Ready to transform your space?
For herbs like basil or parsley, a vertical pallet planter is ideal—it keeps leaves within arm’s reach and thrives in 6+ hours of sunlight. If you’re growing strawberries, opt for the elevated table to deter slugs and improve air circulation around the shallow roots.
Meanwhile, microgreens love the multi-tiered stack because their short growth cycle (30–60 days) means you can rotate crops quickly.
Don’t overlook the foldable design if you rent or need flexibility. I built one last summer and used it on my fire escape—folding it flat when guests visited. Just add casters to the legs for even easier movement.
For long-term projects, seal the pallets with outdoor wood sealant to protect against rain and UV damage, ensuring your table lasts 3–5 years with minimal upkeep.
Pro tip: Line the bottom of your pallet with landscape fabric before adding soil to prevent drainage clogs and extend the life of your planter.
And if you’re short on sunlight, place your table near a south-facing window or use reflective surfaces (like white walls) to bounce extra light onto your leafy greens. With these designs, your small space becomes a high-yield garden—no green thumb required!