
Tools
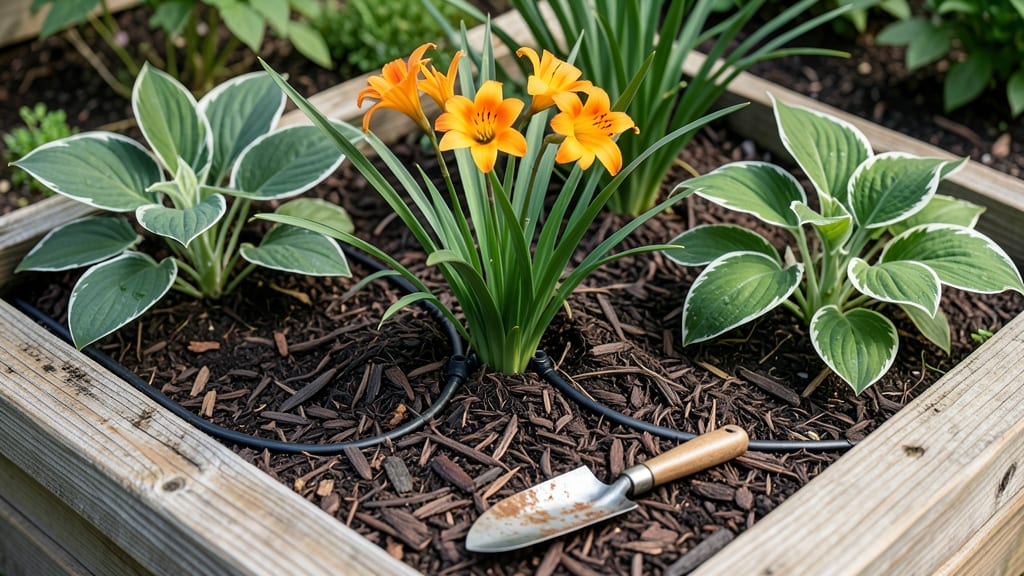
Transforming your small yard or balcony into a thriving garden with mound garden bed ideas can add height, charm, and functionality to your outdoor space.
Small yards and urban balconies don’t have to limit your gardening dreams—elevated mound garden beds turn tight spaces into lush, productive oases while improving drainage and accessibility. Whether you're working with a corner, a container, or a sloped area, these designs make the most of every inch.
Imagine a tiered mound filled with cascading flowers, a spiral layout for herbs and veggies, or a corner solution that adds vertical interest. These creative designs not only save space but also create stunning visuals that elevate your garden’s appeal.
In this guide, you’ll discover 15 space-saving layouts, step-by-step building tips, and the best plants to thrive in mound beds—so you can start designing your dream garden today.
15 Space-saving mound garden bed layouts for small yards
Transforming your tiny yard into a thriving garden starts with smart design. Mound garden beds solve space challenges by elevating plants, improving drainage, and creating visual interest without sacrificing square footage.
These layouts work perfectly in urban balconies, corner spaces, and even container gardens—no matter how limited your area.
My favorite designs focus on vertical growth, tiered layers, and corner solutions that maximize every inch. Whether you're growing vegetables, herbs, or ornamental plants, these layouts keep your garden accessible, productive, and stunning.
Let’s explore 15 creative ways to make the most of your small space.
Here’s a quick overview of the best mound garden bed layouts for different scenarios, including ideal plants, sun requirements, and space-saving tips:
| Layout Name | Best For | Sun Needs | Plants to Try | Space Saved |
|---|---|---|---|---|
| Spiral Mound | Small circular yards | Full sun to partial | Tomatoes, peppers, basil | Up to 50% |
| Tiered Steps | Sloped areas | Full sun | Strawberries, herbs, lettuce | 30-40% |
| Corner Pocket | Tight corners | Partial shade | Ferns, impatiens, succulents | 60% |
| Vertical Pyramid | Balconies/patios | Full sun | Peppers, chili plants, thyme | 70% |
| Keyhole Design | Edible gardens | Partial to full sun | Carrots, onions, radishes | 40% |
| Hugelkultur Mound | Dry climates | Full sun | Rosemary, lavender, drought-tolerant perennials | 50% |
| Container Mound | Balconies/porches | Partial sun | Mini cabbages, bush beans, marigolds | 80% |
| Arcade Mound | Walkway edges | Full sun | Zucchini, cucumbers, nasturtiums | 35% |
| Mini Greenhouse | Cold climates | Partial sun | Lettuce, spinach, microgreens | 45% |
| Cascade Mound | Vertical walls | Partial shade | Ivy, ferns, trailing petunias | 65% |
| Mediterranean Terrace | Dry, warm areas | Full sun | Olives, rosemary, thyme | 55% |
| Rain Garden Mound | Low spots | Partial sun | Blue flag iris, sedges, asters | 40% |
| Square Spiral | Modern gardens | Full sun |
How to build a mound garden bed: step-by-step guide for beginnersMound garden beds are a game-changer for small spaces, offering better drainage, easier access, and a stunning visual appeal. Whether you're working with a tiny balcony or a compact yard, these elevated structures let you grow more without sacrificing space. The key to success lies in proper construction—let's break it down into simple, actionable steps to create a sturdy, functional mound that will thrive for years. Before you begin, choose a location with at least 6 hours of sunlight daily. Mound beds work best on level ground or gentle slopes, and avoid areas prone to flooding. The beauty of mound beds is their versatility—you can customize the height based on your plants and accessibility needs. For most gardeners, a height between 1 to 3 feet strikes the perfect balance between drainage and ease of maintenance. Step-by-Step Guide to Building Your Mound Garden Bed
One of the biggest advantages of mound beds is their adaptability. For example, a low mound (1-2 feet) works well for herbs and succulents, while taller mounds (2-3 feet) are ideal for vegetables like peppers or eggplants. If you're working with a slope, consider a contoured mound that follows the natural grade of your land—this prevents erosion and creates a seamless look. Don’t forget to plan for accessibility. Leave at least 2 feet of walking space around your mound to avoid compacting the soil. For urban gardens, you can even build mound beds in large containers or whiskey barrels—just ensure the container has drainage holes. Over time, your mound will settle slightly, so add extra soil or compost as needed to maintain its shape. With your mound bed built, you're ready to transform your space into a thriving garden oasis. Start with low-maintenance plants like thyme, oregano, or dwarf marigolds to test your design before adding more complex varieties. Happy gardening! 🌱 |