
Fertilization
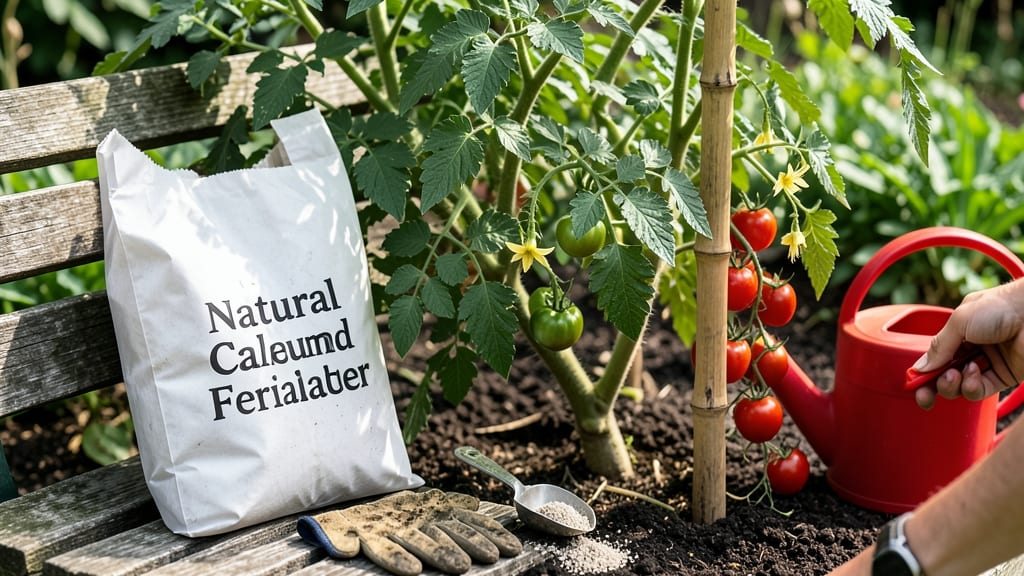
Garden tomatoes need calcium to prevent blossom-end rot and keep stems strong, but most gardeners miss the mark on how to supply it.
Picture this: you’ve spent weeks nurturing your 🍅 plants, only to watch them develop those telltale dark, sunken spots on the fruit. That’s calcium deficiency in action—and it’s more common than you think.
Without enough of this essential mineral, your tomatoes won’t just look sad; they’ll fall short of their full flavor and yield potential.
Calcium isn’t just about fixing problems—it’s the backbone of cell structure, helping your plants transport nutrients and resist stress. The good news? You don’t need fancy (or expensive) solutions to get it right.
From crushed eggshells to simple soil amendments, there are easy, organic ways to boost calcium levels without breaking the bank.
In this guide, I’ll walk you through why calcium matters, how to spot a deficiency before it ruins your harvest, and the best methods to add it—whether you’re a seasoned gardener or just starting out. Let’s get those tomatoes thriving!
How calcium prevents blossom end rot in tomatoes (and when to apply it)
Tomatoes are heavy feeders, and calcium deficiency is one of the most common issues gardeners face. When your plants develop blossom end rot, those dark, sunken spots on the bottom of your fruit?
That’s a classic sign your tomatoes aren’t getting enough calcium. This essential mineral acts like a structural support for plant cell walls, helping them stay firm and healthy—especially during rapid growth phases like fruiting.
The problem isn’t always a lack of calcium in the soil, though. Tomatoes often struggle to absorb calcium efficiently, especially in hot, dry conditions or when soil moisture fluctuates. Without enough calcium, cell walls weaken, leading to those unsightly (and tasteless) rot spots.
The good news? You can prevent and fix this issue with the right application methods and timing.
Calcium’s role in tomatoes goes beyond just preventing rot. It also improves fruit firmness, reduces cracking, and boosts overall plant resilience. But here’s the catch: Not all calcium sources are equal, and timing your applications matters just as much as the type of calcium you use. Let’s break down the science and practical steps to keep your tomatoes thriving.
| Application Method | Best For | When to Apply | Absorption Rate | Organic/Synthetic |
|---|---|---|---|---|
| Soil Amendments (Gypsum, Lime, Crushed Eggshells) | Long-term soil calcium buildup | Spring (before planting) or early season | Slow (weeks to months) | Organic or synthetic |
| Foliar Sprays (Calcium Nitrate Solution) | Quick calcium uptake during fruiting | Late afternoon (every 7-10 days) | Fast (hours to days) | Synthetic |
| Drip Irrigation (Calcium Chloride) | Consistent calcium delivery | During flowering and fruiting | Moderate (days to weeks) | Synthetic |
| Compost Tea (Calcium-Rich) | Gentle organic boost | Weekly during growing season | Moderate (days) | Organic |
For preventing blossom end rot, focus on soil amendments early in the season. Work gypsum or crushed eggshells into the top 6 inches of soil before planting. These organic options release calcium slowly, ensuring a steady supply as your tomatoes grow.
If you’re dealing with an existing problem, foliar sprays are your fastest fix. A solution of 1 tablespoon calcium nitrate per gallon of water applied every 7-10 days can stop rot in its tracks.
Timing is everything when it comes to calcium absorption. Tomatoes absorb this nutrient most efficiently when soil moisture is consistent. Avoid fluctuating water levels, which can block calcium uptake. If your garden soil is sandy or acidic, calcium may wash away or become unavailable.
In these cases, gypsum (calcium sulfate) is a great choice because it improves soil structure while adding calcium.
You might wonder: Can I overdo it with calcium? Absolutely. Too much calcium can lock out other nutrients, like magnesium or potassium, leading to new problems like yellowing leaves or weak stems.
Stick to recommended rates—typically 20-30 pounds of gypsum per 100 square feet for soil amendments—and monitor your plants’ response. If you notice new issues, scale back and focus on balanced fertilization.
Organic gardeners often reach for crushed eggshells or oyster shell as calcium sources, but these take time to break down. For quicker results, calcium nitrate or calcium chloride are synthetic options that dissolve fast.
If you’re using synthetic calcium, apply it in the early morning to prevent leaf burn from the salt content. Always water thoroughly after application to help the nutrient penetrate the soil.
Pro tip: Pair your calcium treatments with mulch to keep soil moisture stable. A 2-3 inch layer of straw or wood chips around your tomato plants reduces evaporation and helps maintain even calcium absorption.
This simple step can make a huge difference in preventing blossom end rot, especially during hot, dry summers. With the right approach, your tomatoes will stay firm, rot-free, and delicious all season long.
Best organic calcium sources for tomatoes: DIY soil boost recipes
If your tomato plants are showing signs of blossom end rot or weak stems, organic calcium sources can be a game-changer. Unlike synthetic fertilizers, these natural amendments improve soil structure while providing slow-release calcium.
My favorite organic options—crushed eggshells, oyster shell flour, and gypsum—are easy to source and apply. Each works differently depending on your soil type and plant needs.
For sandy soils, I recommend gypsum because it improves soil structure while adding calcium. In clay-heavy soils, crushed oyster shells work best by balancing pH and providing long-term nutrients.
Meanwhile, eggshells are perfect for quick fixes and compost enrichment. Let’s dive into how to prepare and apply each one for maximum tomato health.
🌱 DIY Organic Calcium Recipes for Tomatoes
- Crushed Eggshells: Bake shells at 200°F for 10 mins, crush into fine powder, and mix 1 tbsp per plant into soil or compost.
- Oyster Shell Flour: Apply 1-2 lbs per 100 sq ft of garden bed. Works best in acidic soils (pH < 6.5).
- Gypsum (Calcium Sulfate): Sprinkle 1 lb per 100 sq ft and water in. Ideal for sandy soils needing structure.
- Bone Meal (Slow-Release): Use 1 tbsp per plant at transplanting. Rich in calcium and phosphorus for roots.
- Wood Ash (Use Sparingly): Apply 1/2 cup per plant every 3 months. High in calcium but raises pH—test soil first!
Pro Tip: Mix calcium amendments into the top 6 inches of soil before planting for best results.
When applying these amendments, timing matters. For preventative care, work them into the soil 2-4 weeks before planting. If your tomatoes already show calcium deficiency symptoms, side-dress with crushed eggshells or gypsum mid-season. Always water thoroughly after application to help nutrients penetrate the root zone.
One common mistake I see is over-applying calcium, which can disrupt nutrient balance. Stick to the recommended rates—too much can actually cause magnesium or potassium deficiencies.
For example, gypsum should never exceed 10 lbs per 100 sq ft in a single season. Test your soil’s calcium levels annually to adjust applications accordingly.
For container-grown tomatoes, blend 1 tbsp of crushed eggshells into the potting mix at planting. If using hydroponics, add 1-2 ppm of calcium nitrate to your nutrient solution weekly.
Remember, organic calcium builds soil health over time, so consistency is key. Your tomatoes will thank you with stronger stems, fewer diseases, and sweeter fruit.
🌿 Start with one method this season—like my eggshell recipe—and observe how your tomato plants respond. Next year, you can experiment with combinations for even better results!